Separating condensate waste from LC waste

Separating condensate waste from LC waste
Topic LCI-USG-0204, Last Updated 11/08/2024

Separating condensate waste from LC waste allows the user to dispose of chemical waste separately.

Alliance iS systems are shipped with the condensate waste and LC waste routed to a single waste port on the front of the system.

  1. Open the pump compartment door.
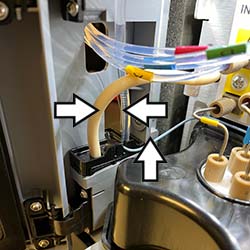
  2. Remove the waste line tubing (see arrows) from the drain cup.
    Figure 1: Tubing in pump compartment drain cup
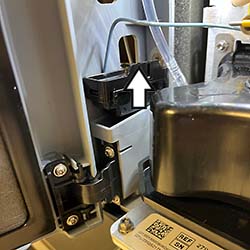
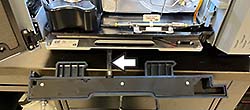
  3. Lift the drain cup up.
    Figure 2: Lifting the drain cup up
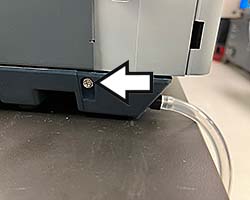
  4. Remove the screw (see arrow) on the left-hand side that secures the drain tray.
    Figure 3: Drain tray screw
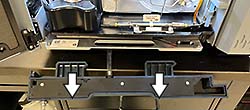
  5. Pull the drain tray forward.
    Figure 4: Pulling the drain tray forward
  6. Remove the tubing from the drain tray.
    Figure 5: Removing the tubing from the drain tray
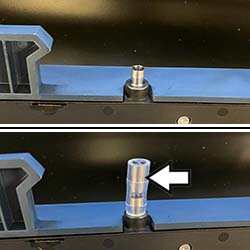
  7. Install the plug (see arrow) onto the drain tray barbed fitting.
    Figure 6: Installing the drain tray plug
  8. Pull the drain tray tubing out of the back of the system and reroute it around the outside of the system to the front.
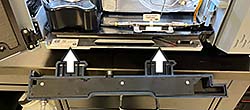
  9. Push the drain tray back in.
    Figure 7: Pushing the drain tray in
  10. Reinstall the drain cup.
    Figure 8: Installing the drain cup
  11. Install the screw (see arrow) on the left-hand side that secures the drain tray.
    Figure 9: Drain tray screw
  12. Place the waste line tubing (see arrows) back into the drain cup.
    Figure 10: Tubing in pump compartment drain cup
  13. If the condensate waste line is not long enough to reach the waste container:
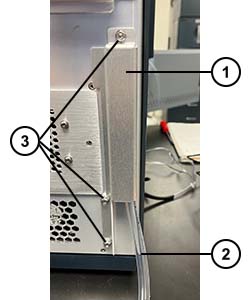
    1. Remove the three screws and the cover on the back of the system that covers the condensate waste line.
      Figure 11:
      Condensate waste line cover
      Condensate waste line
      Screws
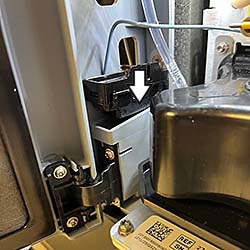
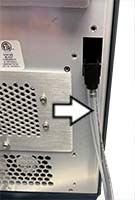
    2. Remove the condensate waste line (see arrow) from the SHC (sample heater cooler) drain cup.
      Figure 12: Disconnecting condensate waste line
    3. Make and install a new line long enough to connect to waste and connect it to the back of the system.
    4. Reinstall the three screws and the cover on the back of the system that covers the condensate waste line.
    5. Connect the new line to a dedicated condensate waste container. To avoid trapping air in the line, ensure that the tube is straight.

Need Help? Connect with a Waters expert. 


To avoid risk of personal injury and to prevent damage to laboratory equipment, always operate your Waters products in accordance with the applicable operational and safety information, your organization’s standard operating procedures, and local regulations.

Refer to the English version of this page for the latest information.

Back To Top Back To Top