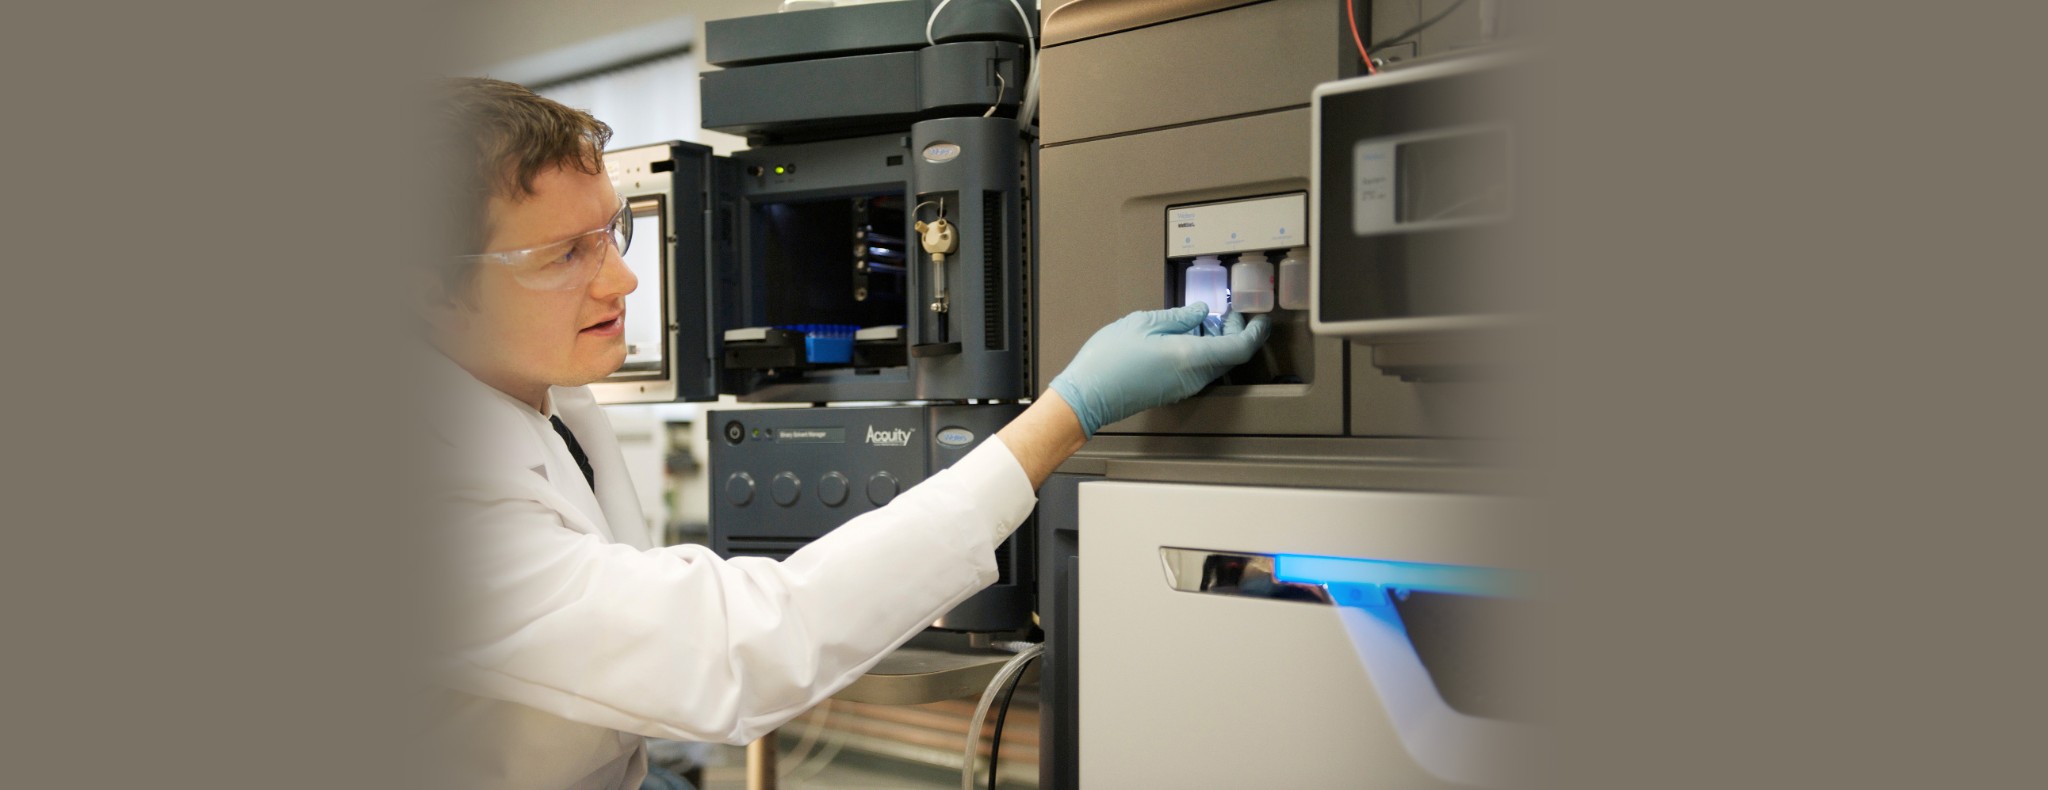
Waters offers a comprehensive range of analytical system solutions, software, and services for scientists. Liquid Chromatography. Mass Spectrometry. Waters is the leading provider of lab equipment, supplies and software for scientists across the world. Easily research and order everything your lab needs! Waters offers a comprehensive range of analytical system solutions, software, and services for scientists. Liquid Chromatography. Mass Spectrometry. Waters is the leading provider of lab equipment, supplies and software for scientists across the world. Easily research and order everything your lab needs!

